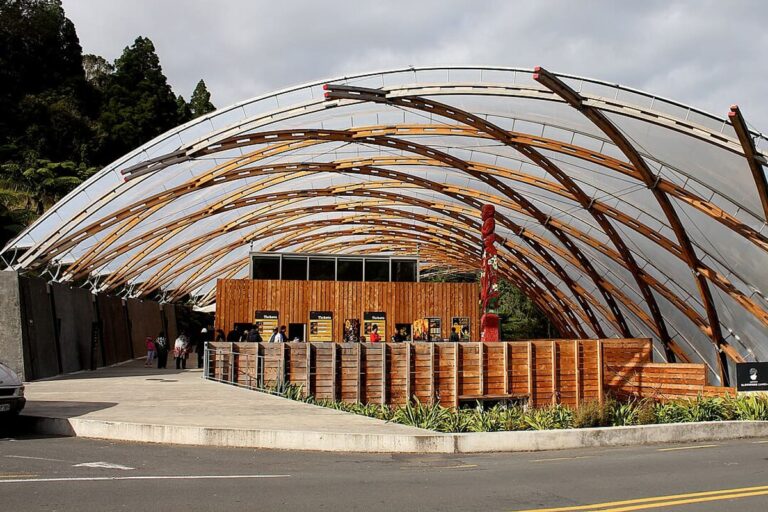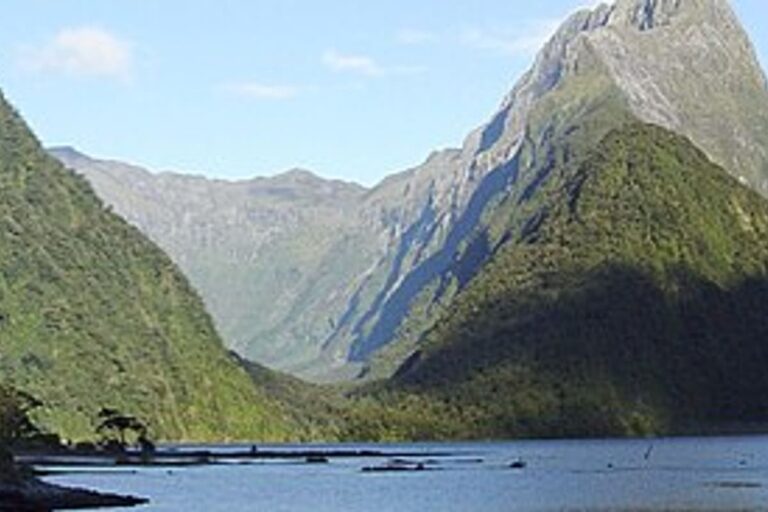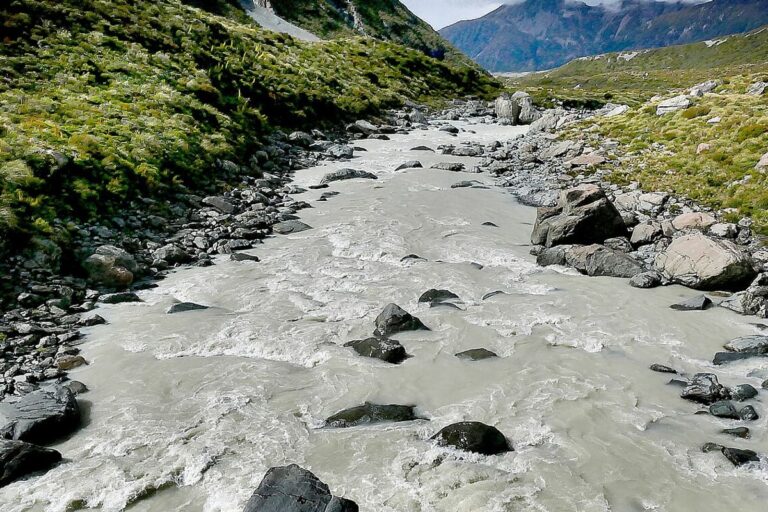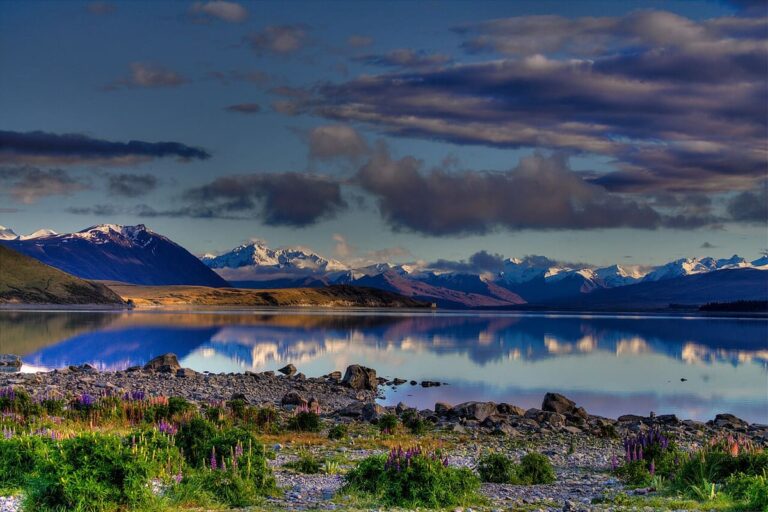
About Te Araroa
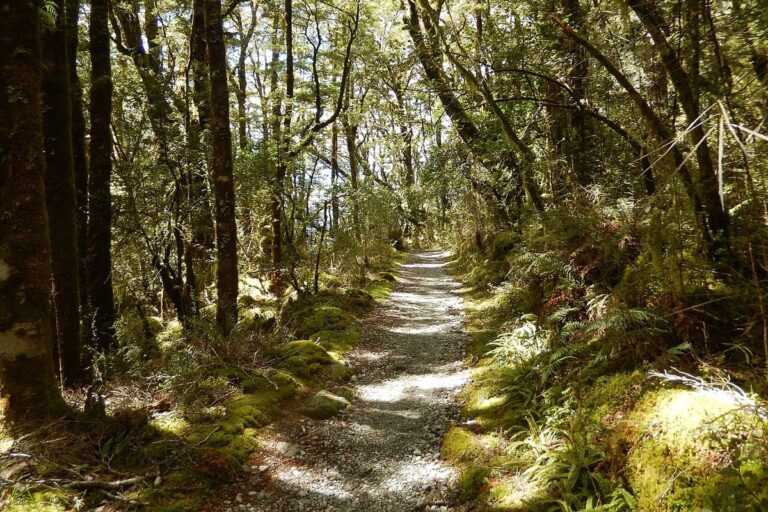
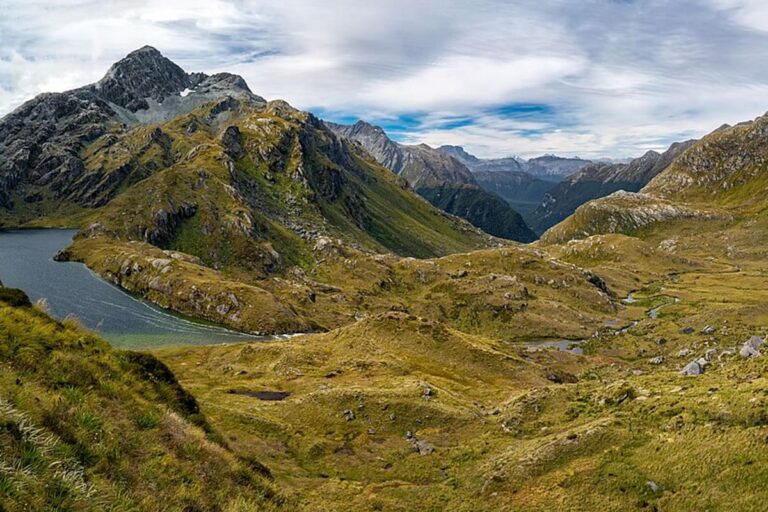
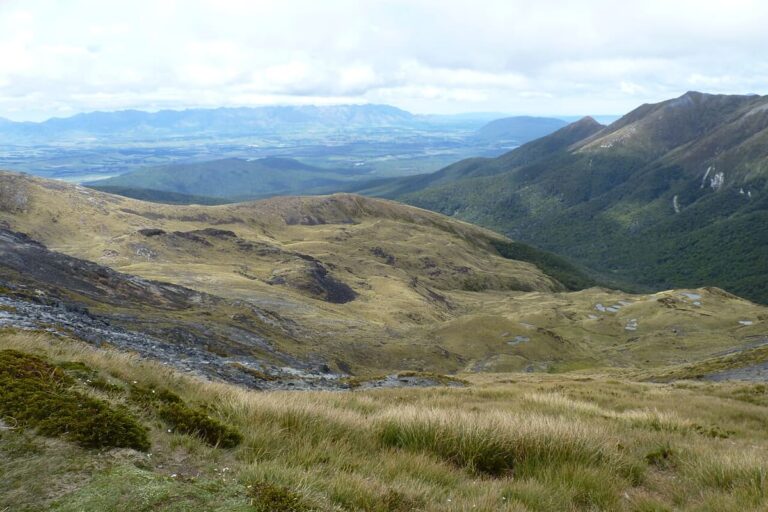
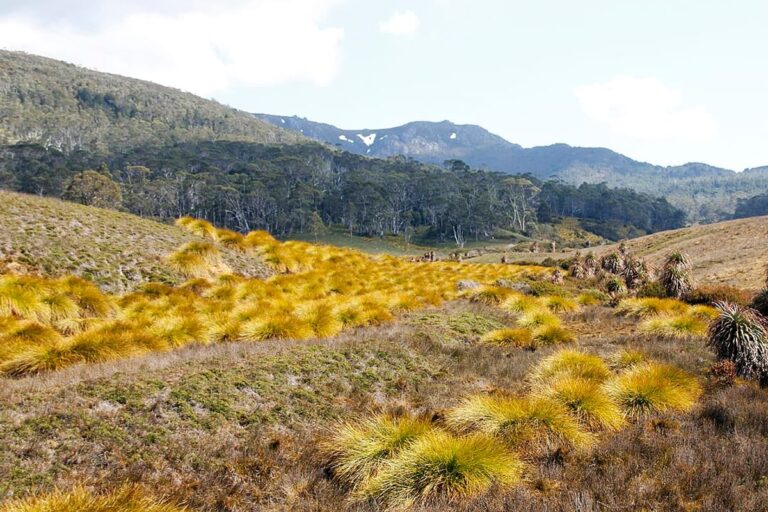
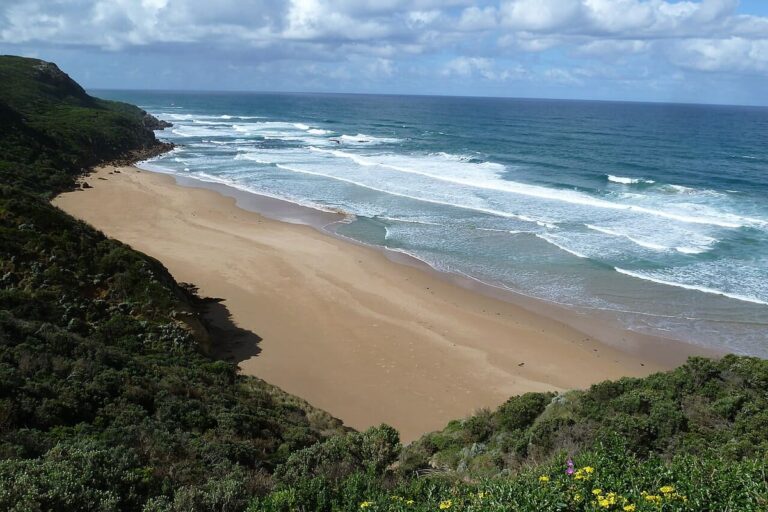
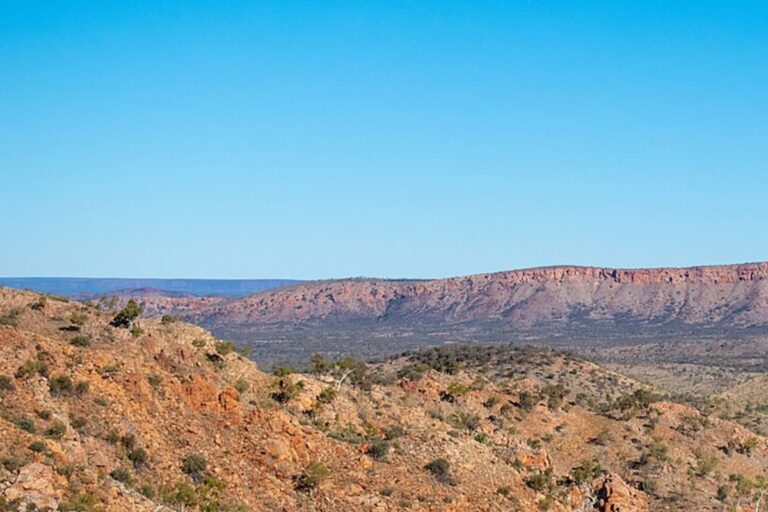
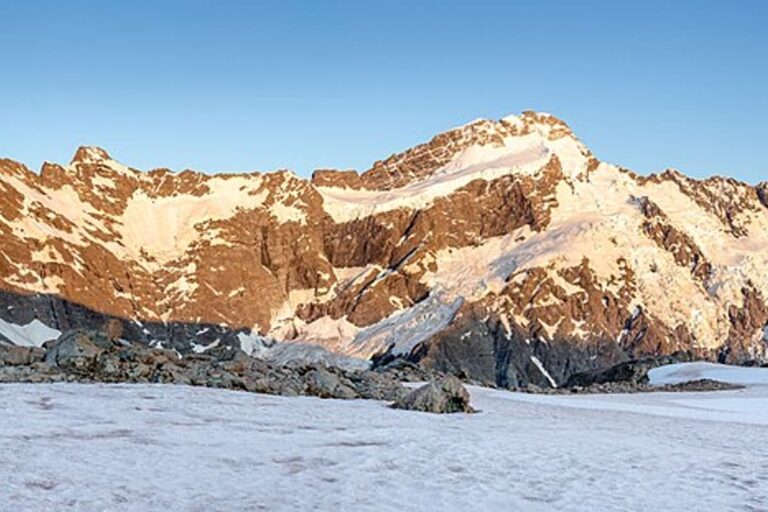
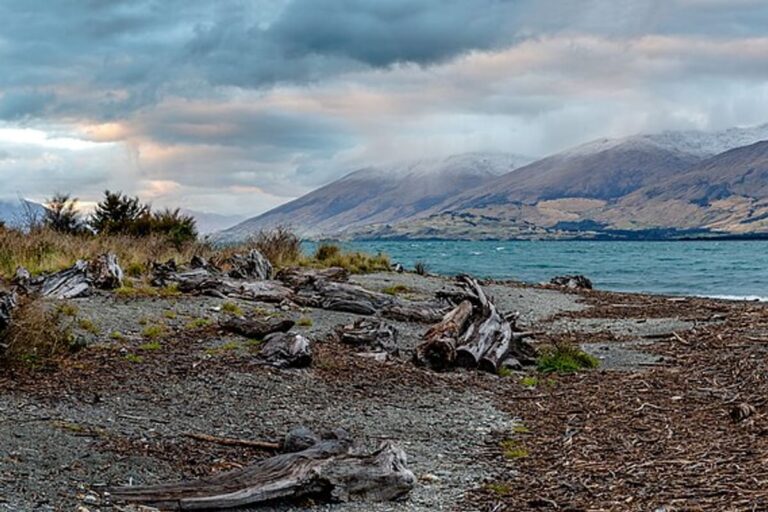
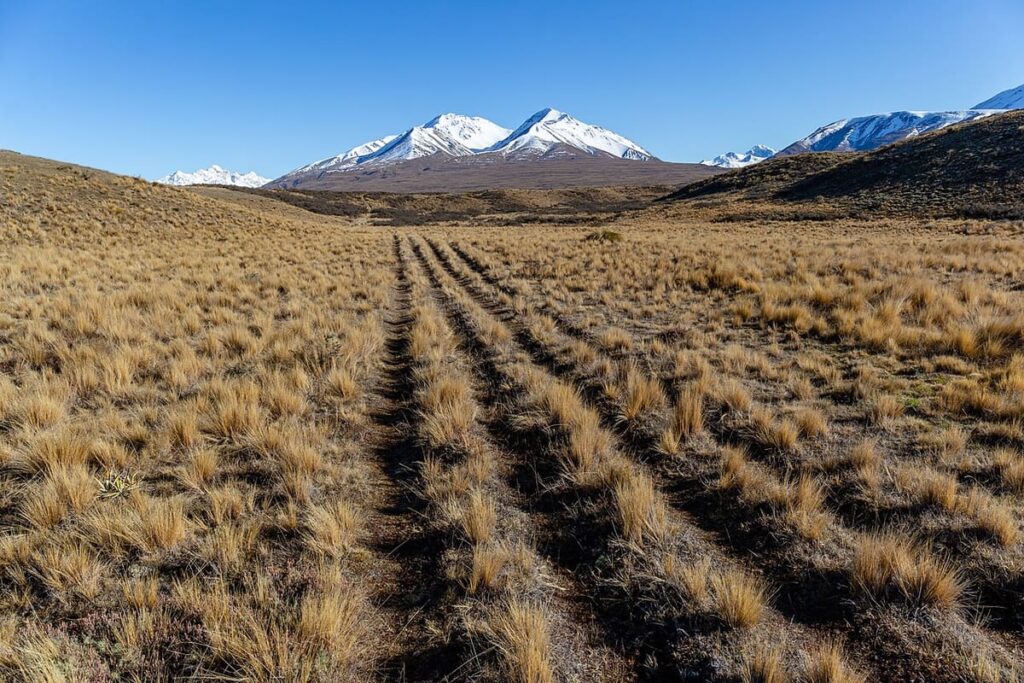
NZ’s 3,000-km thru-hike from Cape Reinga to Bluff — beaches, native forest, volcanic plateaus and the Southern Alps.
Te Araroa sits in New Zealand, New Zealand, near Cape Reinga (north terminus) and about 785 km from the capital, Wellington. Plan your visit for Oct-Mar — that’s when Te Araroa is at its best, with the most reliable conditions and the easiest logistics.
This guide covers what makes Te Araroa worth a trip, how to get there, what it costs, what to take, and the safety basics. Use the table of contents to jump to what you need, or read end-to-end to plan a full visit.
How to get to Te Araroa
The closest base for Te Araroa is Cape Reinga (north terminus). Most travellers arrive via a regional flight to the nearest airport, then continue overland (taxi, bus or hire car) to the trailhead or visitor area. International flights to New Zealand usually route through the country’s main hub, Wellington, before connecting onward.
If you’re combining Te Araroa with other stops in New Zealand, browse the New Zealand attractions hub for ideas — and use the Trip Planner to chain them into a single route.
Best time to visit Te Araroa
The best time to visit Te Araroa is generally Oct-Mar. That window offers the most reliable conditions, the safest access and the most consistent visitor services. Shoulder months either side of this window are often the sweet spot — quieter, cheaper, and only slightly less perfect.
Plan your visit for Oct-Mar — that’s when Te Araroa is at its best, with the most reliable conditions and the easiest logistics. Check current local forecasts close to your departure, and read our wider hiking trails season notes on the Hiking Trails hub.
Entry fee & opening hours
Entry fee: Free to visit. Open access — no formal opening hours.
Fees and hours can change with season, advisory status or maintenance. Always confirm via the official park / operator website before you set out.
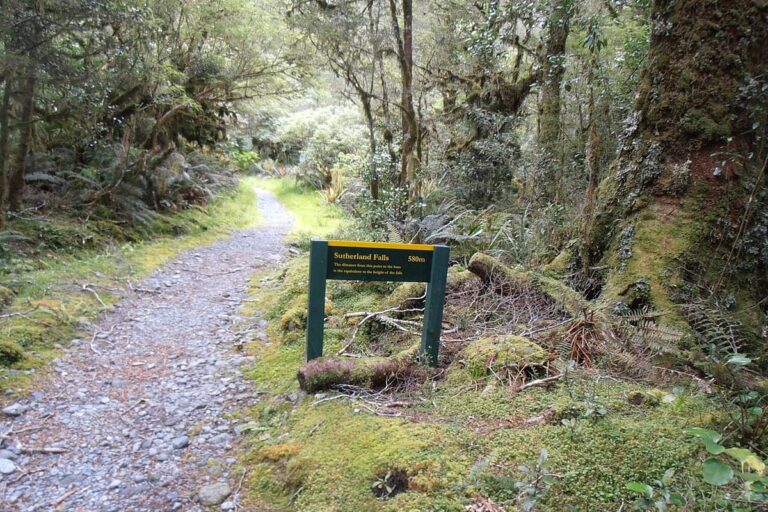
Things to do at Te Araroa
- Hiking Trail-focused exploring: make your way to the main vantage point first — it’s usually the easiest and most rewarding stretch of the visit.
- Photography: dawn and the last hour before sunset deliver the best light. Bring a wide lens for the landscape and a longer one for detail.
- Local experience: a guided walk with a regional guide adds context you won’t pick up alone, and supports the local economy.
- Day trips: see the What’s nearby section below — most visitors pair Te Araroa with at least one or two other stops in the same trip.
Safety tips
Te Araroa is rated expert. Serious objective hazards, technical skill or extreme altitude — go with a guide and proper equipment.
- Read your country’s current travel advisory for New Zealand before you go — see our travel advisories digest.
- Buy comprehensive travel insurance with adventure-activity cover. SafetyWing is an easy option you can buy after departure.
- Tell someone your route and expected return time — especially for hikes, caves and remote attractions.
- Carry water, snacks and a backup light source. Phone batteries die fast in cold or remote conditions.
- Respect cordons, fences and posted warnings — they are usually there because someone got hurt.
What to carry
- Comfortable walking shoes broken in beforehand (boots for trails, sturdy trainers for short walks)
- 1–2 L of water per person and high-calorie snacks
- Layered clothing (a warm mid-layer, a waterproof shell) — even in warm climates, weather changes fast at altitude or near water
- Sun cover: high-SPF sunscreen, hat, sunglasses
- A power bank, a headlamp + spare batteries, and a small first-aid kit
- Cash in small denominations — ATMs are unreliable in remote areas
- Camera with a wide-angle lens, plus a lens cloth (mist and spray love camera glass)
What NOT to carry / do
- Single-use plastics — many national parks have banned them; refillable bottles only
- Drones without an explicit permit — most parks and many countries prohibit them
- Food into wildlife areas — even an apple core teaches animals to associate humans with food
- Loud Bluetooth speakers — they wreck the experience for every other visitor
- Anything you wouldn’t carry up an emergency stairwell — be honest about your fitness
Suggested itinerary
Half-day visit (4–5 h): Drive in from Cape Reinga (north terminus), walk the main viewpoint loop, eat lunch, return.
Full-day visit (8–10 h): Early start from Cape Reinga (north terminus), longer loop or second viewpoint, lunch, a guided activity in the afternoon, return for sunset.
Overnight (1–2 nights): Stay in or near Cape Reinga (north terminus), hit Te Araroa at sunrise and sunset for the best light, and use the middle of the day to explore nearby spots — see What’s nearby below.
Budget estimate
On a budget, Te Araroa is very doable. Local buses, guesthouse-grade beds and street food keep daily costs low. A rough per-person budget for a one-day visit from Cape Reinga (north terminus):
- Transport (round trip): US$10–30
- Entry fee: Free
- Guide / activity (optional): US$15–40
- Food & water: US$8–20
Use the Budget Calculator to build a full trip-level estimate.
Te Araroa is better suited to active adult travellers. Younger children may find the distances, terrain or remoteness challenging.
Frequently asked questions
Where is Te Araroa?
What is the best time to visit Te Araroa?
How much does it cost to visit Te Araroa?
Is Te Araroa family-friendly?
How do I get to Te Araroa?
What should I pack for Te Araroa?
Map & location
Travel safely. Buy comprehensive travel insurance before you go — SafetyWing covers most countries and you can buy after you’ve already left.
Get a quote →